Using MASON and IntelliJ
22 January 2019


It turns out that all guides to setup MASON with a decent IDE are very old. The MASON manual doesn’t bother with this, either. Therefore here’s an updated version using IntelliJ.
Assuming here you have installed IntelliJ and Java JDK.
- Create a new project, and let it be a “Java” project.
Do not select any template
give it a name (mason-test here)
you should have now an empty project
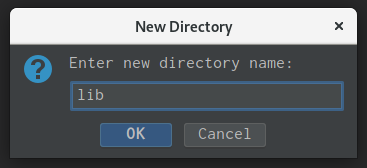
- Create a new directory in
mason_test
call it lib
put the mason.jar file in that directory
- Go file->Project Structure
Go to libraries, press the + sign and choose Java
Point it to the lib folder you created before (where mason.jar is)
Confirm that you want that folder to be a library folder for the project/module
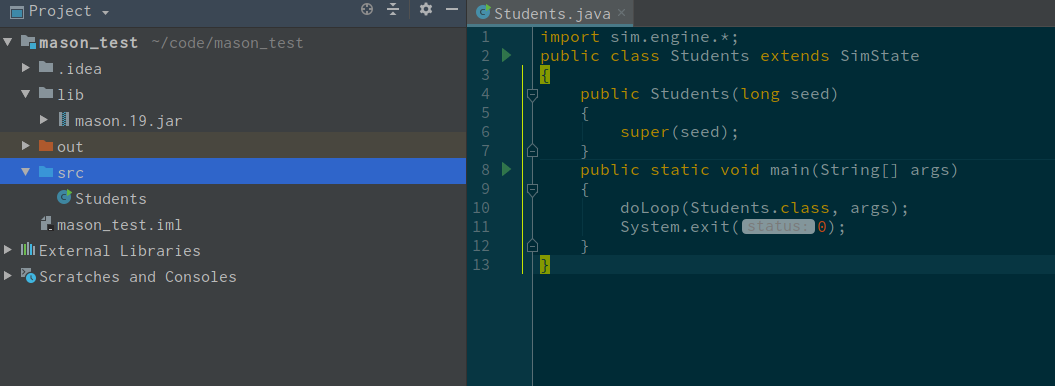
- Start coding; create a new java class by right clicking on src–>Java Class
Write down your Students.class
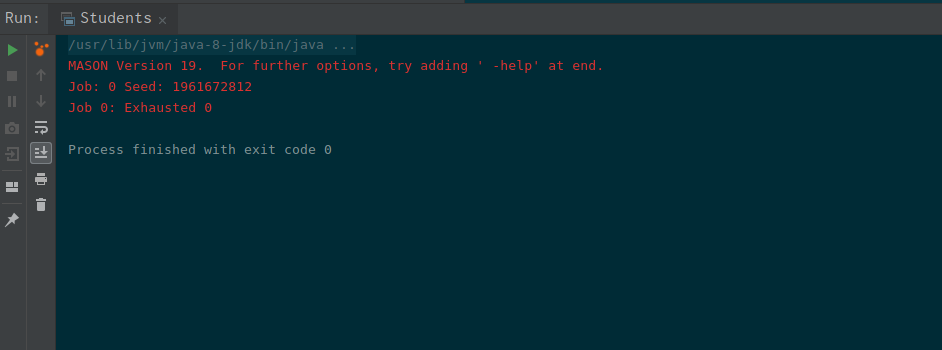
Right click on its tab and press “run”
Should see it running at the bottom